Hello everyone!
This week has been a rough one for my entire family but we have managed and through the grace of God, the worse is over! My husband had surgery last week and it was a rough time for me and the kids. Hubby is doing fine. ...still in a bit of pain
but doing so much better! I tried to be strong and keep my hubby, kids and blog going but it wasn't possible! I know I haven't been around much the past few days and I apologize for that! Now that I can breathe again, I'll be making my rounds to see all of your lovely creations!
A few people have asked me to put together a tutorial for coloring with Copic Markers. This is my first tutorial and I hope it makes sense! Since I don't have a web cam, I had to resort to using pictures instead.
Copic Tutorial
I'm not an artist but I will share with you a couple of key things to keep in mind when using Copic Markers. You need
good paper and a brand of ink that will not
smear! For paper I use Stampers Select from
Papertrey Ink or Nina Solaris from
Ellen Hutson's and the ink that works for me is Adirondack's. Always begin with a light shade and layer and blend the colors as you go. (similar to using Prismacolor pencils) Get to know your colorless blender, it is a wonderful tool!
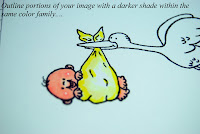
To begin my coloring process, I start with a light shade and color portions of my image. I alway leave some areas free of color.

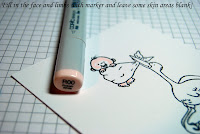
 ETA This should read "Flesh marker" instead of "blush"!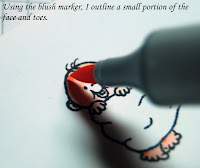
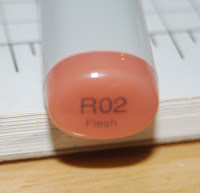
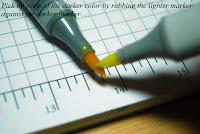
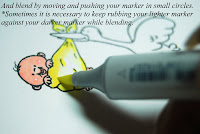
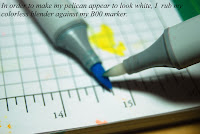
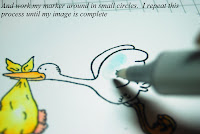
Then I make a partial outine with a darker shade that is in that same color group. Now it is time to blend these two colors. To do this you simply rub your lighter shade marker against the darker shade marker to pick up some if the darker shade. Now you take your maker and blend the colors of your image by moving in small circles and pushing the color around.
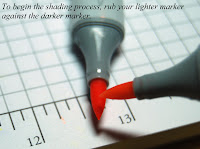
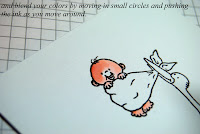
As you blend your colors, you will have to repeat rubbing your lighter marker against your darker marker in order to pick up the darker color. Repeat the process of moving your marker in small circles yet moving the color around at the same time.

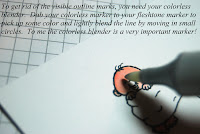
When using Copic Markers, the colorless blender is like a miracle worker....it is a must to have a colorless blender! Whenever I am finished with a section, I always go over that particular section with my colorless blender. I simply rub my colorless blender against the darker shade of that section. (this picks up a bit of color) and lightly move the colorless blender to even out the tones. Do not be alarmed if you don't notice any changes at first...let the section dry a bit! As the ink is absorbed into the paper, you will notice the change. If you aren't satisfied with the results, simply repeat the proces.
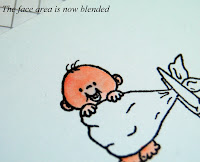
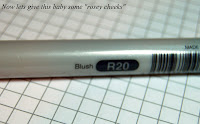
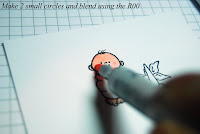
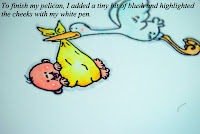
To give the appearence of rosy cheeks, simply make to small dots on each side of the face. Lightly blend the dots by rubbing your colorless blender against the blush colored maker and
simply move your marker in small circular rotations.


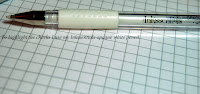
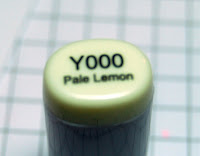
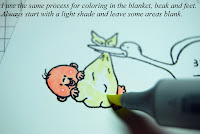
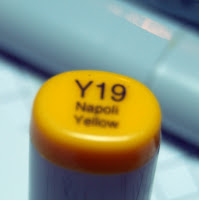
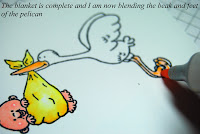
(I used E00 "skin white" to shade in
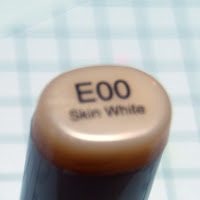
the pelicans beak and feet)
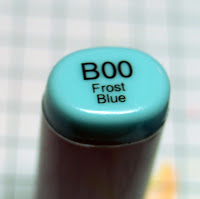
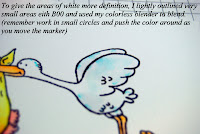
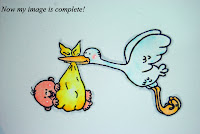
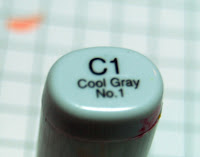
Usually whenever I am done coloring my image, I use C1 "Cool Gray to give the shadow effect.
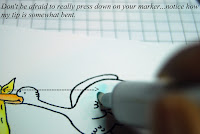
Another tip....to remove any excess ink from the tip of your marker, simply scribble on a scrap piece of paper.
I hope that I haven't confused anyone, if so write me and I will try to answer your question. Have a beautiful weekend and thank you for stopping by!


 to all three of you.

 from Rita


